Staten Island roof repair calls often start the same way: a homeowner spots a brown water stain spreading across the ceiling near the chimney or notices dripping water in the attic after a nor’easter. What seems like a small leak quickly becomes a bigger headache as moisture works through insulation, framing, and walls, feeding mold and rotting wood from the inside out.
The frustration compounds when previous repairs failed because the actual source, maybe a deteriorated chimney crown or a cracked vent pipe boot, was never addressed. Repeat visits from roofers who only patch shingles waste time and money.
This guide walks you through the common causes of chimney leaks and vent pipe leaks, how to safely inspect your roof, which fixes homeowners can tackle, and when calling a roofing company is the smarter move. Every recommendation accounts for Staten Island’s specific climate, housing stock, and local code requirements.
Key Takeaways
- Most chimney leaks originate from damaged flashing, a cracked chimney crown, a missing or damaged chimney cap, or a deteriorated vent pipe boot rather than from the shingles themselves.
- Small, accessible repairs like replacing a chimney cap or sealing minor crown cracks can sometimes be handled as DIY projects, but structural masonry damage, steep roofs, and complex roof repairs on Staten Island should be handled by a licensed roofing contractor.
- Acting fast after storm damage or new water stains around a chimney prevents costly structural rot, mold growth, and interior drywall replacement.
- Local roofers who specialize in Staten Island roof repair understand New York City building codes, permit requirements, and the coastal weather conditions that accelerate chimney and vent pipe deterioration.
- Industry data suggests that roughly 30 to 40 percent of all roof leaks diagnosed by roofing companies are tied directly to vent pipe boot failures, making them one of the most overlooked leak sources on residential roofs.
Why Leaking Chimneys and Vent Pipes Are Such a Serious Roof Leak Risk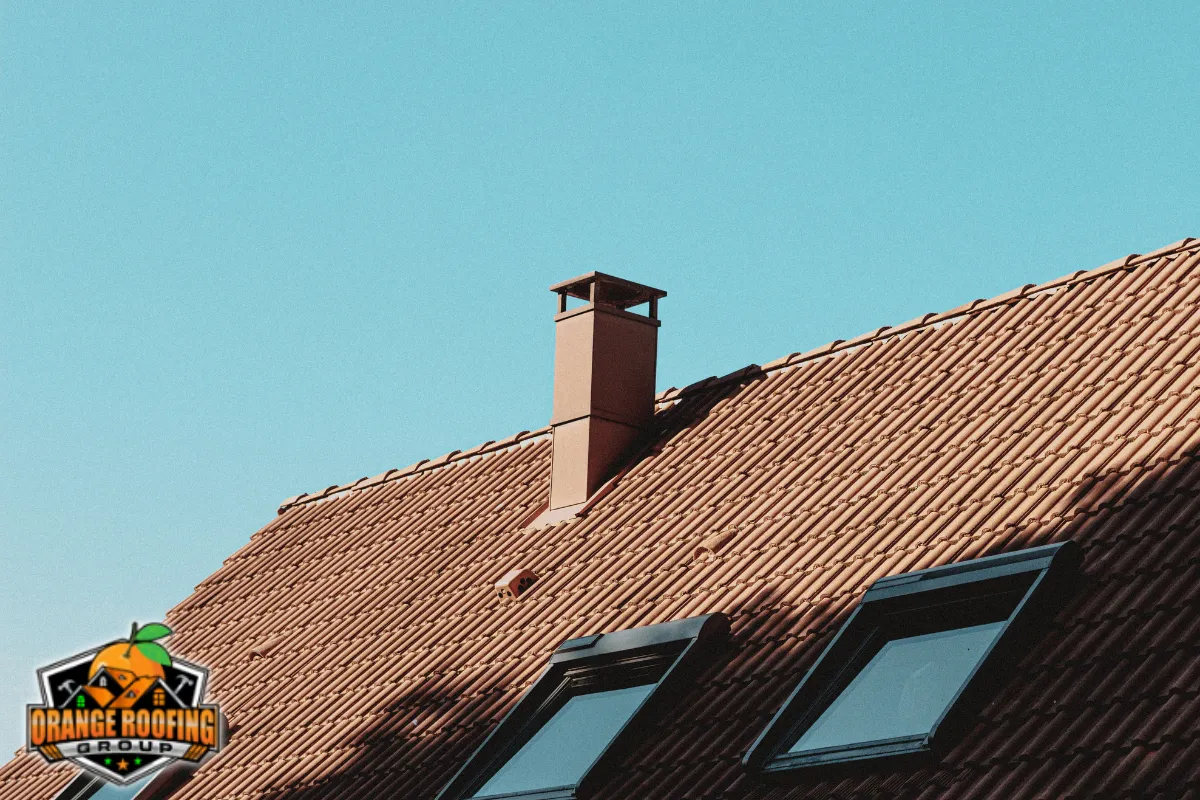
Every penetration through your roof deck, whether it is a masonry chimney, a furnace flue, a bathroom exhaust vent, or a plumbing stack, creates a potential point of water entry. These openings interrupt the continuous surface of shingles and underlayment, and any gap in the seals around them invites moisture inside.
A leaking chimney or vent pipe can cause a chain of interior damage that goes far beyond a ceiling stain:
- Soaked attic insulation loses its R-value, raising energy bills and encouraging condensation.
- Wet wood in rafters and sheathing softens and rots, weakening the roof structure.
- Moisture migrating along framing can appear as water stains or peeling paint on walls and ceilings far from the actual leak source.
- Persistent dampness creates ideal conditions for mold growth behind drywall and inside wall cavities.
Staten Island experiences coastal storms and freeze-thaw cycles that make these problems worse. When water seeps into cracks in masonry, mortar, or a chimney crown, it freezes and expands by roughly nine percent. Repeated cycling through winter widens those cracks season after season. What starts as a hairline fissure in the fall can become a visible gap by spring, allowing water to pour in during the next heavy rain.
From an insurance perspective, most carriers distinguish between sudden storm damage and gradual deterioration. Documenting and addressing chimney leaks promptly can affect whether a claim is approved or denied. It is always worth the effort to inspect the chimney for visible damage and leaks before a small problem turns into a denied claim and a large repair bill.
There is also a safety concern many homeowners overlook. If your chimney vents a boiler, furnace, or fireplace, a damaged chimney flue liner or deteriorated mortar joints can allow combustion gases, including carbon monoxide, to leak into living spaces. Wet bricks and compromised seals make this risk worse.
Common Causes of Chimney Leaks on Staten Island Roofs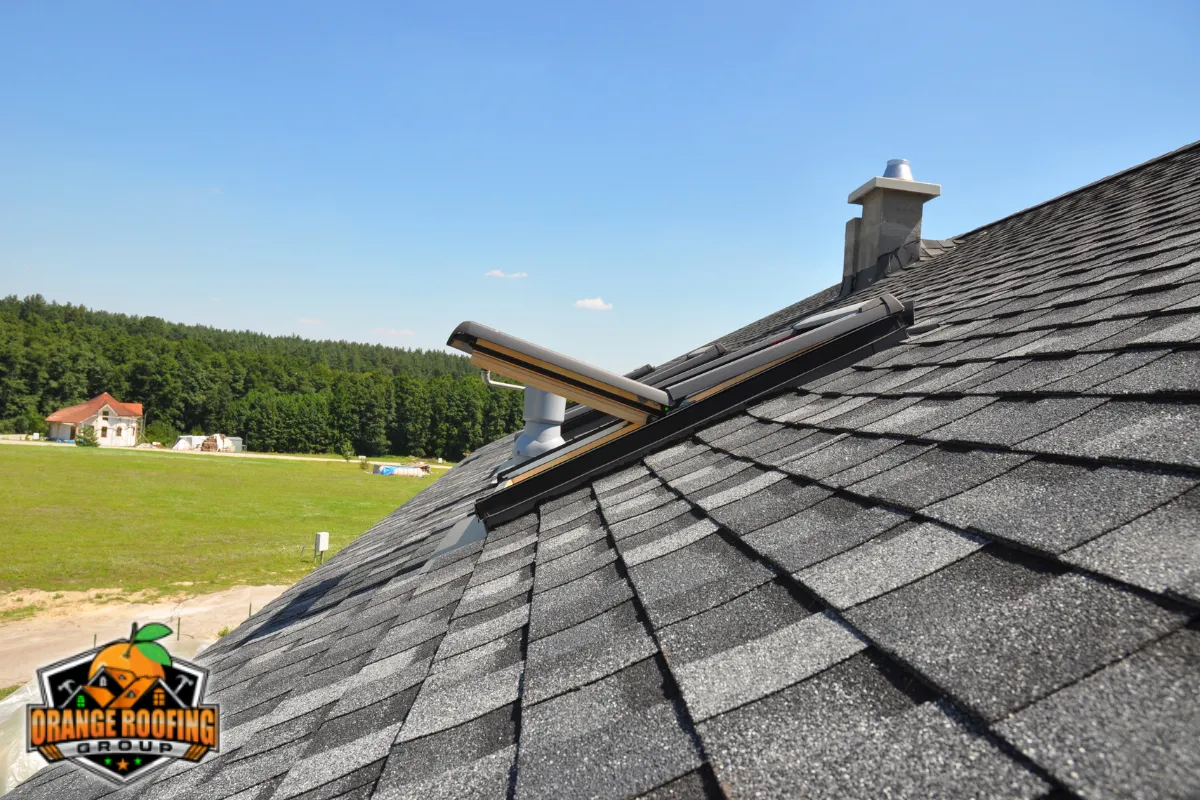
Most chimney leaks that local roofers encounter on Staten Island trace back to a handful of failure points rather than the roof surface itself. Here are the most frequent culprits.
Cracked or deteriorated chimney crown. The crown is the concrete slab at the top of the chimney stack. Cracked chimney crowns allow rainwater to enter the flue and soak into the masonry below. Crowns built too thin, made with mortar instead of concrete, or lacking proper slope fail fastest, especially in freeze-thaw climates.
Damaged flashing. Flashing prevents water from entering where the chimney meets the roof. It is often made of aluminum and can deteriorate over time, particularly in salt air environments. Cracked or missing flashing allows water to seep between the chimney and roof. Old tar-based patches dry out, crack, and lose adhesion, and improperly installed flashing allows water to seep into the chimney from the start.
Missing or damaged chimney cap. Chimney caps prevent rain and snow from entering the chimney. They also block debris and animals from entering the flue. A chimney without a cap can lead to significant water damage as rain washes out mortar joints from inside the flue, rusts damper components, and accelerates crown deterioration. Missing chimney caps let rain and snow into the chimney with no barrier at all.
Porous bricks and eroded mortar joints. Older Staten Island homes often have bricks that have absorbed moisture for decades. Cracked mortar joints can create gaps for water penetration, channeling rain and snow deeper into the chimney structure with every storm.
Damaged chimney chase covers. On prefabricated chimneys with metal chases, damaged chimney chase covers can cause leaks. Rust, denting from debris, or poor-fitting covers allow water pooling on the surface and eventual dripping inside.
Vent pipe boot failures. Roof penetrations around vent pipes must be watertight with approved flashing. The rubber collar on standard EPDM boots degrades under UV exposure and temperature swings, typically cracking within 10 to 15 years. In Staten Island’s climate, that timeline can be shorter.
Missing chimney cricket. A chimney wider than 30 inches on the upslope side of the roof needs a cricket, a small peaked structure that diverts water around the chimney. Without one, water pools behind the chimney and backs up under shingles and flashing.
Clogged gutters. Overflowing gutters can dump water directly against the chimney base or vent stack, overwhelming even sound flashing. Regular cleaning prevents this.
How to Safely Inspect a Leaking Chimney or Vent Pipe
Before climbing any ladder, understand that fall protection and safety come first. Roof work in Staten Island, especially on steep or wet surfaces, requires caution. If the pitch is steep or the roof is icy, skip the DIY inspection and hire a roofing contractor.
Check interior signs first. Look at ceilings near the chimney for water stains, bubbled or peeling paint, and damp patches. In the attic, check insulation around the chimney chase and vent pipe penetrations for darkened wood, active drips, or mold. Musty smells near the fireplace area can also signal trapped moisture.
Inspect from the ground. Use binoculars to scan the chimney crown for visible cracks, check whether the chimney cap is present and intact, look for rust or gaps along flashing edges, and examine vent pipe boots for warping or separation from the pipe. Inspect chimneys each spring and fall for signs of damage, and inspect chimney crowns annually to prevent leaks. Inspect flashing for damage to prevent leaks before they develop into bigger problems.
Ladder inspection. If you can safely reach the roofline, set the ladder on level, solid ground and maintain three points of contact at all times. Look at the flashing up close, note any missing shingles near the chimney, and check the crown and chimney cover for cracks or chips.
Attic tracing. During rain, a flashlight check in the attic can reveal drips tracking along framing and sheathing. Note where water appears and where it seems to travel, since leaks often show up far from the actual entry point.
Document everything. Take clear photos or short videos of any damage. These are invaluable when requesting a roof repair estimate from a roofing company, filing an insurance claim, or comparing conditions over time.
In New York City, homeowners should avoid removing structural or fire-safety components. Stick to visual observation and leave disassembly to licensed roofing contractors.
Read Can You Fix an Attic Leak From the Inside? Staten Island Roof Repair Guide
DIY-Friendly Fixes for Minor Chimney and Vent Pipe Leaks
Only low-risk, easily accessible tasks belong in the DIY category. Anything involving tall chimneys, complex masonry, or steep roofs should be left to a professional roofing service. With that said, here are a few repairs homeowners can handle.
Install or replace a chimney cap. Install a chimney cap to block rain and debris, choosing a properly sized stainless steel or copper model that fits securely over the flue opening. Fasten it with the appropriate screws or straps, making sure it does not restrict draft. Installing a chimney cap can extend the life of the chimney crown by keeping direct water off the surface.
Seal minor crown cracks. For hairline cracks in a chimney crown that is otherwise structurally sound, clean the surface thoroughly, let it dry, and apply an elastomeric crown coat following the manufacturer’s instructions. Seal cracks with waterproof caulk or mortar mix where the gaps are small and shallow. This type of repair can add several years of service life to a crown that is not yet ready for a full rebuild.
Fix a vent pipe boot. Vent pipe leaks can be fixed by patching with roofing caulk or a new boot. On a single-story, low-slope roof, you can replace a deteriorated rubber boot by gently lifting the surrounding shingles, removing the old boot, sliding the new one over the pipe, nailing the flange under the upslope shingles, and sealing all edges. DIY boot materials typically cost between 15 and 50 dollars. However, sealants should not be relied upon as the only fix for deteriorated vent boots if the rubber collar or metal base is cracked through.
Tighten a storm collar. If a storm collar on a metal vent pipe has loosened, snug it back into position and apply high-temperature sealant around the joint. Flashing repairs should include sealing edges with waterproof sealant to complete the waterproof barrier.
Avoid tar as a universal fix. Roofing cement and tar dry out, crack, and can trap moisture against the surface they were meant to protect. This complicates later professional chimney repairs by hiding the true condition of the materials underneath.
Test and track results. After any repair, using a garden hose can help test for leaks after repairs are made. Have someone inside watch for drips while you gently run water over the repaired area. Keep a leak log noting rain dates and any new signs of moisture so you can verify the fix or catch a recurring issue early.
When a Leaking Chimney Calls for Professional Chimney Repair or Roof Repair
Many Staten Island chimney leaks are symptoms of deeper issues that only an experienced roofing contractor or chimney mason should handle. Knowing the red flags saves homeowners from wasting money on temporary patches.
Structural masonry problems. Large vertical cracks through chimney bricks, a leaning or separating chimney stack, widespread spalling, or entire sections of missing mortar joints all require professional assessment. These conditions suggest water damage has been working through the structure for a long time.
Roof deck damage. Buckled or missing shingles around the chimney, soft or springy decking when walked on, or extensive damaged flashing that has clearly allowed water entry for months or years indicate that spot patching is not enough. Replace corroded flashing to prevent water seepage rather than layering new material over old.
Complex roof geometry. Chimneys built into valleys, wide chimney faces that need crickets, or multiple vent pipes grouped near each other often demand full flashing replacement. Using better materials for flashing can improve leak prevention, especially when upgrading from galvanized steel to stainless steel or copper in a coastal environment.
Combustion appliance venting. If the chimney serves a gas boiler, oil furnace, or fireplace, a licensed professional should inspect the chimney flue for liner damage and venting safety. Mechanical code compliance is not optional.
Permit and code triggers. In New York City, larger masonry rebuilds, structural modifications above the roofline, or work on shared party walls may require permits. NYC Building Code section 2113.9 mandates chimney caps with sloped crowns, drip edges, and bond breaks around flue liners. Navigating these requirements without professional help can result in violations or failed inspections.
When vetting roofing companies, ask about licensing, general liability and workers compensation coverage, and specific experience with repairing roofs on Staten Island. A contractor familiar with local conditions will know which materials hold up and which shortcuts lead to callbacks.
Step-by-Step Overview of Professional Chimney and Vent Pipe Leak Repairs
Here is what homeowners can typically expect when a reputable roofing company or chimney contractor handles the job.
Thorough inspection. The process starts with a roof walk, chimney crown evaluation, flashing check, flue examination, and attic moisture mapping. Some contractors use moisture meters or thermal imaging to confirm the true leak source rather than guessing based on ceiling stains alone.
Crown rebuilding. If the crown is beyond recoating, the contractor grinds out the damaged material and forms a new sloped crown using reinforced concrete with proper overhang of at least two inches past the chimney face and a drip edge. An expansion gap between the crown and flue liners is sealed with flexible, high-temperature sealant. A well-built crown can last 50 years or more with periodic maintenance.
Flashing replacement. Old flashing is stripped, and new step flashing and counterflashing are installed into mortar joints. Under current New York State code, corrosion-resistant flashing must be at least 0.019 inches thick. On the upslope side of chimneys wider than 30 inches, a cricket is installed or rebuilt to prevent water pooling.
Vent pipe work. Rusted metal bases are replaced, new rubber or synthetic collars are installed, and storm collars are secured and sealed. Premium boots, such as lead or lifetime synthetic options, can last 25 years or longer compared to 10 to 15 years for standard EPDM rubber.
Masonry restoration. Tuckpointing fills deteriorated mortar joints with fresh mortar matched to the original profile. Severely damaged bricks are replaced. Masonry waterproofing prevents water absorption in bricks and mortar, and contractors apply waterproofing sealant to protect masonry. They may also apply a breathable masonry water repellent after repairs if recommended, using vapor-permeable products that let moisture escape rather than get trapped inside the chimney.
Documentation and warranty. Reputable roofing contractors provide before-and-after photos, explain warranty terms on materials and workmanship, and may recommend periodic maintenance visits. This documentation is also useful for insurance records and future roof replacement planning.
Preventing Future Chimney and Vent Pipe Leaks in Staten Island’s Climate
Long-term prevention costs far less than repeated emergency repairs and ceiling patching. A few consistent habits make a meaningful difference.
Schedule regular inspections. An annual or twice-yearly roof inspection, ideally in spring and fall, should focus on chimney flashing, chimney caps, vent pipe boots, gutters, skylights, and overall roof condition. Catching a small crack early avoids a large repair later.
Upgrade chimney caps and chase covers. Use stainless steel for chimney chase covers to prevent rust. Copper is another excellent option in coastal environments. A quality chimney cover shields the crown, flue, and interior masonry from direct rain and snow exposure. Wind-driven rain during nor’easters is particularly hard on unprotected chimney tops.
Apply waterproof sealant to masonry every few years. Choose a breathable, vapor-permeable sealer so moisture already inside the bricks can escape. Non-breathable coatings trap moisture and cause spalling during freeze-thaw cycles, making the problem worse.
Clean gutters and downspouts. In neighborhoods with mature trees, debris clogs gutters fast. Overflowing water saturates walls near chimneys and vent penetrations, overwhelming even well-installed flashing.
Keep records. Maintain a file of all roof repairs, chimney sweeps, and leak events. Patterns spotted early can be shared with future roofing contractors and help them diagnose recurring issues more efficiently.
Schedule chimney sweeps. If you use a fireplace or wood stove, regular cleaning removes creosote buildup. Heat from fires can aggravate existing cracks in the flue and crown, and built-up creosote creates a fire hazard on top of the water damage risk.
Staten Island Roof Repair – Orange Roofing Group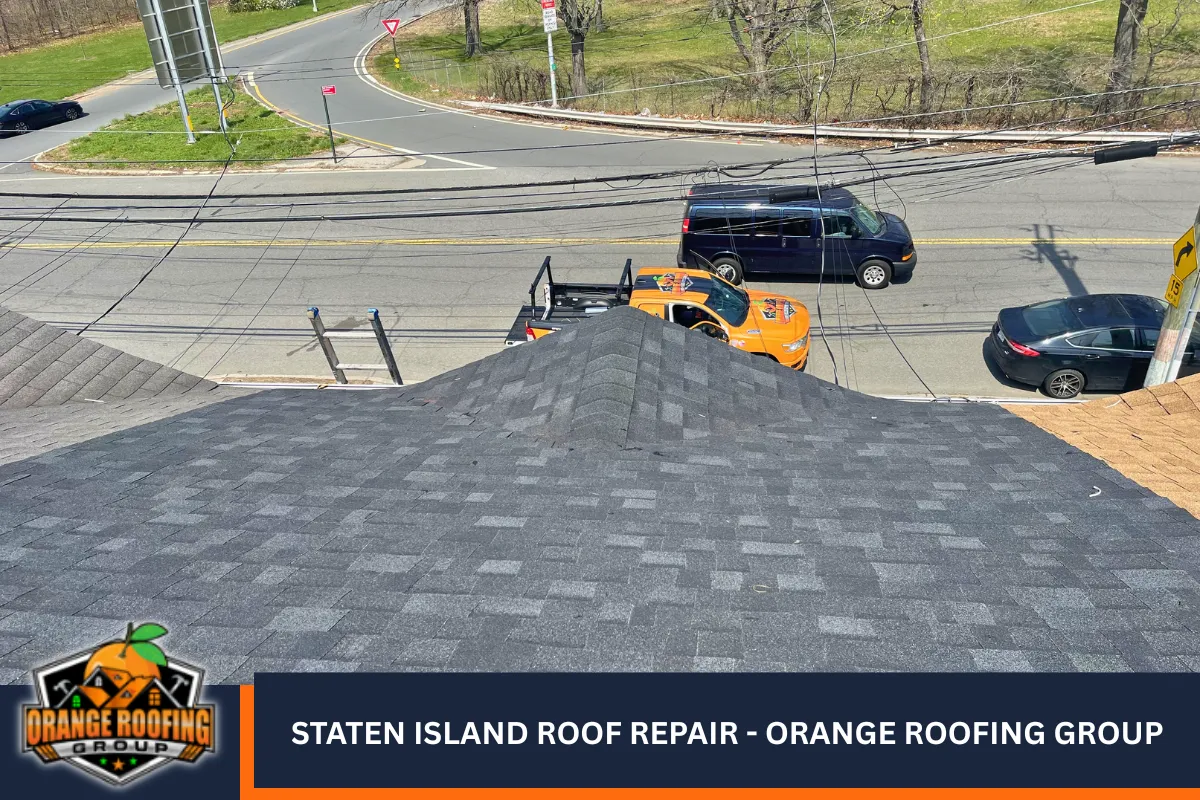
At Orange Roofing Group, we are a local roofing company based right here in Staten Island, New York, and we specialize in precise roof repair work for chimneys, vent pipes, flashing, and storm damage. Whether you are dealing with an active roof leak or need a thorough inspection to catch problems before the next coastal storm, our roofing contractors deliver clear written estimates so you know exactly what each repair includes and what it costs.
We have extensive experience repairing roofs on Staten Island’s colonials, capes, townhomes, and flat-roofed mixed-use buildings. Our focus is on long-term, code-compliant solutions, not temporary patches. If your leaky chimney needs simple chimney repairs or a broader scope of roof work, we will give you honest guidance.
Call us at (347) 875-2361 for urgent leaks, or fill out our contact form to schedule a convenient appointment online. Orange Roofing Group is here to help you protect your home with roofing services you can count on.
Frequently Asked Questions
How Can I Tell If My Leaking Chimney Is Damaging the Rest of My Roof?
Look beyond the obvious ceiling stains. A sagging roofline near the chimney, shingle granules accumulating heavily in gutters below the chimney area, and a persistent musty odor in the attic all suggest that water has been working through the structure for a while. During heavy rain, a flashlight check in the attic can reveal active drips tracking along framing and pooling on sheathing. Over time, long-term chimney leaks cause wavy drywall, doors that stick from subtle framing shifts, and noticeably higher energy bills as wet insulation loses its ability to regulate temperature. If you notice more than one of these warning signs, a professional roof inspection is the fastest way to determine the full extent of the damage before it spreads further.
Is Chimney Leak Repair Covered by Homeowners Insurance in Staten Island?
Coverage depends on your specific policy and whether the insurer classifies the problem as sudden accidental damage or gradual wear and tear. Most carriers in New York cover storm-related roof repair and resulting interior damage, such as flashing torn off by wind during a nor’easter. However, they typically exclude long-term neglect and pre-existing deterioration like a chimney crown that has been crumbling for years. To strengthen a potential claim, document leak dates, save dated photos of damage, and notify your insurer promptly after major weather events. Always contact your insurance company or agent directly for written guidance on what is and is not covered rather than assuming a claim will be approved after the fact.
How Long Should a Properly Repaired Chimney Flashing Last?
Professionally installed step flashing and counterflashing using galvanized or stainless steel typically lasts as long as the surrounding roof system, often 20 to 30 years on an asphalt shingle roof under normal Staten Island weather conditions. That lifespan shortens significantly when earlier roofers used exposed tar patches, inferior metal gauges, or skipped embedding counterflashing into mortar joints. Nearby salt air from the coast, industrial pollution, and accumulation of leaves and debris against flashing edges can also reduce service life. The best practice is to check flashing during every routine roof inspection and to replace it proactively during a major re-roofing project rather than trying to reuse aging material under new shingles.
Can a Roof Leak Near My Chimney Actually Be Caused by a Vent Pipe or Skylight?
Yes, and this is one of the most common misdiagnoses homeowners and even some roofers make. Water follows the path of least resistance along sheathing and framing, so a failing rubber boot on a plumbing vent pipe or a compromised seal around skylights higher up the roof can produce stains that appear right next to the chimney. Shingles, valleys, and every roof penetration upslope from the stain should always be checked before concluding that the chimney is the source. Professional leak detection sometimes involves controlled water testing, running water in specific zones one at a time, to pinpoint the actual entry point. Relying solely on where a stain appears inside the house often leads to fixing the wrong thing.
What Time of Year Is Best for Chimney and Vent Pipe Roof Repairs in Staten Island?
Late spring through early fall generally provides the best conditions for most roof repairs because warmer temperatures help sealants cure properly, mortar sets correctly, and shingle adhesive strips bond as designed. Winter repairs are still possible for emergency leaks, but many products have lower temperature limits and shorter workable windows, which can compromise the quality of the fix. Scheduling non-urgent chimney repairs before hurricane season and the nor’easter-prone months of late fall and winter helps prevent sudden interior damage when storms hit. That said, the best time to contact a roofing contractor is as soon as you notice a leak, regardless of season. Waiting months for ideal weather while water continues to enter the roof structure almost always costs more in the long run.
Disclaimer: This article provides general educational information about chimney leaks and roof repair and does not replace an on-site inspection by a licensed roofing contractor or engineer. Building codes, safety standards, and permit requirements in Staten Island, New York, can change. Verify current rules and consult qualified professionals before starting any roof or chimney work.
Read How to Choose the Best Roofing Company on Staten Island